Why a Quick Steak Recipe is a Game-Changer
When it comes to creating a satisfying, restaurant-quality meal in minutes, nothing beats a quick steak recipe. Whether you’re preparing a weekday dinner, impressing guests, or treating yourself, a perfectly cooked steak transforms any meal into an elevated dining experience.
Moreover, cooking steak at home has its perks. It’s more affordable than dining out, offers full control over ingredients, and allows you to customize flavors to suit your preferences. With just a few key ingredients and simple tools, you can prepare a dish that rivals the best steakhouses—all in under 20 minutes!
For other simple yet impressive meal ideas, check out this pasta with asparagus and salmon recipe.
In this guide, you’ll learn everything needed to master a quick steak recipe, from choosing the perfect cut to nailing the right doneness. Ready to bring steakhouse magic to your kitchen? Let’s get started!
Table of Contents
Essential Ingredients and Tools for a Perfect Quick Steak Recipe
To master a quick steak recipe, having the right ingredients and tools is crucial. Below, we’ll cover everything you need to create a mouthwatering steak with ease.
Key Ingredients for the Perfect Steak
1. Steak: The Centrepiece of the Feast
The steak is the centrepiece of your meal. Here are some popular cuts:
- Ribeye: Celebrated for its flavourful marbling and melt-in-your-mouth tenderness.
- Sirloin: Lean, flavourful, and budget-friendly.
- Filet Mignon: Renowned for its unrivalled tenderness, perfect for special moments.
- New York Strip: A perfect balance of tenderness and bold flavor.
2. Salt:
High-quality salt, such as kosher salt or sea salt, enhances the natural flavors of the steak.
3. Black Pepper:
Freshly cracked black pepper adds a touch of spice and complexity.
4. Cooking Oil:
Opt for oils with a high smoke point, like canola, avocado, or grapeseed oil, for a perfect sear.
- Butter:
Butter enriches the steak’s flavor and creates a delicious, golden crust when added at the end of cooking. - Optional Flavor Enhancers:
- Crushed or minced garlic cloves.
- Fresh herbs like rosemary or thyme.
- Steak rubs or marinades for extra depth of flavor.
For more on enhancing recipes with glazes, explore this guide on honey-baked roast glazes.
Must-Have Kitchen Tools
1. Cast-Iron Skillet or Heavy Pan:
Provides even heat distribution and delivers a beautiful sear.
2. Tongs:
Perfect for flipping the steak without piercing it, helping retain juices.
3. Meat Thermometer:
Ensures you achieve your desired doneness every time.
4. Cutting Board:
A wooden or plastic cutting board is essential for resting and slicing your steak.
5. Sharp Knife:
For clean, precise slices when serving.
6. Paper Towels:
Pat the steak dry before cooking to guarantee a perfect sear.
With these essential ingredients and tools, you’re well on your way to mastering the perfect quick steak recipe. Up next, we’ll guide you through the step-by-step cooking process to achieve steak perfection!

Preparing the Steak: Mastering the Perfect Quick Steak Recipe
A successful quick steak recipe starts with proper preparation. From seasoning to marination, every step ensures maximum flavor and tenderness. Let’s break it down.
How to Season Your Steak
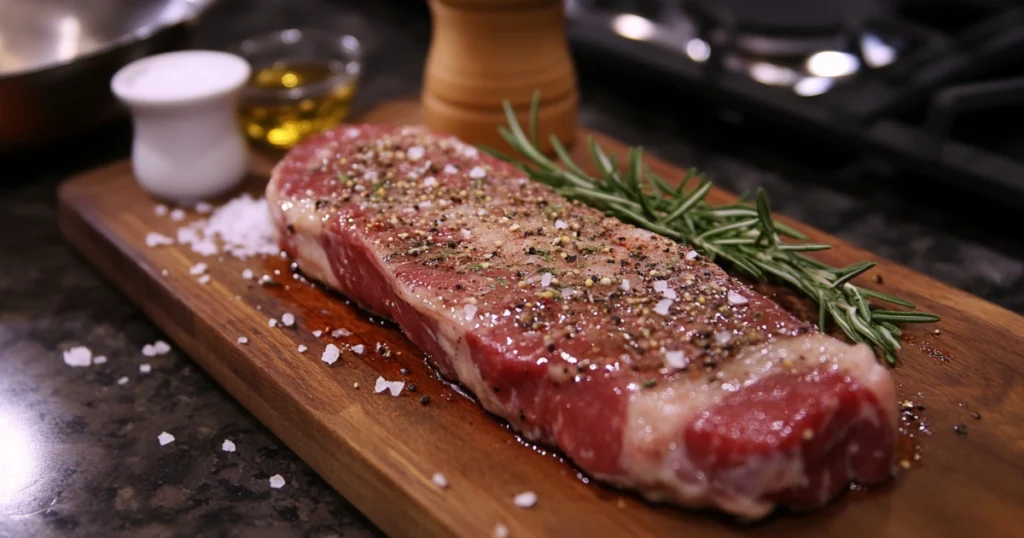
The secret to a flavourful steak lies in simplicity. Use these steps to achieve perfect seasoning:
1. Pat the Steak Dry:
Use paper towels to pat your steak dry, removing excess moisture. This step ensures a flawless sear during cooking.
2. Generous Salting:
Sprinkle a generous amount of kosher or sea salt on all sides. Salt enhances flavor and helps create a beautiful crust.
3. Add Freshly Ground Pepper:
Apply freshly ground black pepper just before cooking. Pre-grinding pepper can result in a bitter, burnt taste.
4. Optional Flavors:
- Lightly rub with olive oil for better seasoning adhesion.
- Add depth with garlic powder, onion powder, or paprika.
Bringing Steak to Room Temperature
Why It’s Important:
Cooking steak straight from the fridge often results in uneven doneness. The outer layers may overcook while the center remains underdone.
How to Do It:
Take the steak out of the fridge at least 30 minutes prior to cooking. Allowing it to sit at room temperature ensures even heat distribution during cooking.
For tips on ensuring perfect texture and avoiding soggy side dishes, read this guide on turkey stuffing.
Tips for Perfect Marination (Optional)
While high-quality steaks don’t require marination, leaner cuts like sirloin benefit from it.
1. Create a Simple Marinade:
Combine:
- 1/4 cup olive oil
- 2 tbsp soy sauce
- 1 clove minced garlic
- 1 tsp black pepper
2. Marinate in a Bag or Bowl:
Place the steak in a resealable plastic bag or bowl. Ensure it’s fully coated and gently massage the marinade into the steak.
3. Timing is Key:
- Quick marinade: 30 minutes for a light flavor boost.
- Deep flavor: Up to 6 hours (avoid overnight marination to prevent a mushy texture).
Preparing Your Tools for Cooking
The right tools and preparation make cooking your quick steak recipe seamless.
1. Preheat Your Pan:
Heat your cast-iron skillet or heavy pan on high until it slightly smokes. A hot pan is essential for achieving the perfect sear.
2. Prepare Your Toppings:
Have your butter, garlic, and fresh herbs within easy reach for quick basting during cooking.
By properly seasoning, marinating, and preparing your tools, you’re now ready to cook the perfect quick steak recipe. In the next section, we’ll cover the cooking techniques to ensure your steak is juicy and flavorful every time!

Cooking the Steak: Perfecting Your Quick Steak Recipe
Cooking is where your quick steak recipe truly comes to life. Precision and technique are key to achieving a steak that’s juicy, tender, and full of flavour. Use this step-by-step guide to ensure delicious results every time.
Step-by-Step Guide for Stovetop Cooking
1. Preheat the Pan:
- Heat a cast-iron skillet or heavy pan over high heat for 2–3 minutes.
- Add a splash of high-smoke-point oil (e.g., avocado or canola oil) and swirl it to coat the pan evenly.
Why this matters: A hot pan ensures a proper sear and locks in flavor.
2. Add the Steak:
- Carefully place the steak into the hot pan. You should hear a satisfying sizzle—a sign of proper searing.
- Avoid overcrowding the pan; cook one or two steaks at a time for optimal results.
Pro Tip: Overcrowding lowers the pan temperature, preventing a good crust.
3. Sear the Steak:
- Cook the first side for 2–4 minutes, depending on the thickness.
- Don’t move the steak—let it form a beautiful golden crust.
- Turn the steak with tongs and cook the other side to perfection.
Key Point: Patience during searing is crucial for developing flavour.
4. Lower the Heat and Baste:
- Reduce the heat to medium.
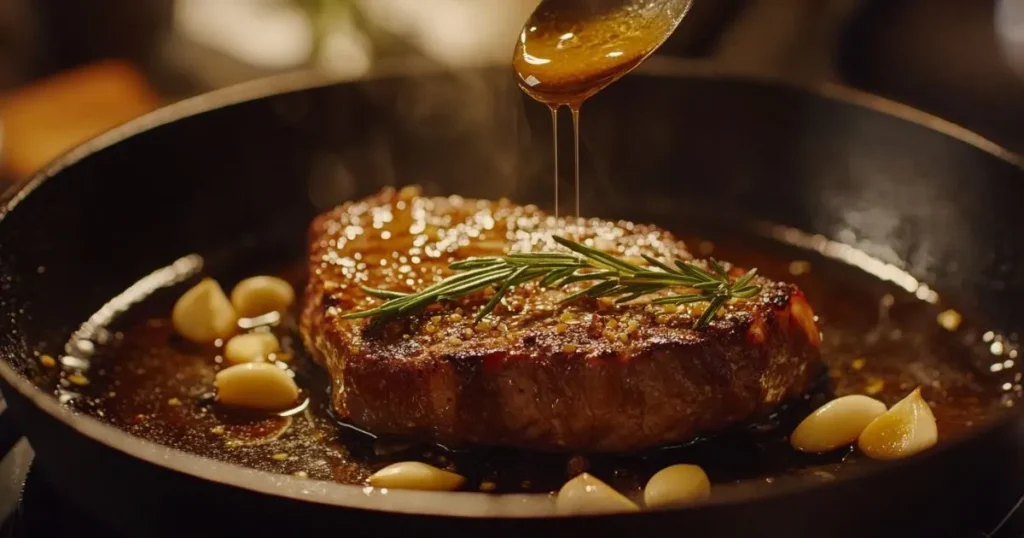
- Toss in some butter, crushed garlic, and fresh herbs like rosemary or thyme for added flavour.
- Slightly tilt the pan and spoon the melted butter over the steak to baste it.
Why baste? Basting adds richness and enhances the steak’s juiciness.
Check Doneness:
Use a meat thermometer to ensure your steak reaches the perfect temperature:
- Rare: 125°F (cool red center)
- Medium Rare: 135°F (warm red center)
- Medium: 145°F (warm pink center)
- Medium Well: 150°F (slightly pink center)
- Well Done: 160°F (no pink center)
Accuracy Tip: Always insert the thermometer into the thickest part of the steak.
6. Remove from Heat:
- Move the steak onto a cutting board.
- Allow the juices to settle and evenly redistribute by letting it rest for 5–10 minutes.
Resting is key: Skipping this step can result in a dry steak as the juices will escape when slicing.
With these precise cooking techniques, your quick steak recipe is sure to impress every time. In the next section, we’ll explore the best side dishes and serving tips to complete your steak masterpiece!
quick-reference guide and key takeaways to make every steak dinner a success!
FAQs: Your Quick Steak Recipe Questions Answered
Here are the most frequently asked questions to help you master your quick steak recipe with confidence.
1. How can I tell when the steak has reached the perfect level of doneness?
The most accurate method is using a meat thermometer:
- Rare: 125°F (cool red center)
- Medium Rare: 135°F (warm red center)
- Medium: 145°F (warm pink center)
- Medium Well: 150°F (slightly pink center)
- Well Done: 160°F (no pink center)
No Thermometer? Try the Touch Test:
- Rare: Feels soft, like the fleshy part of your palm below the thumb.
- Well Done: Feels firm, with little to no give.
Pro Tip: Always measure at the thickest part of the steak for the most accurate reading.
2. Is it possible to use a frozen steak for this recipe?
Yes, but it’s best to thaw the steak completely in the refrigerator overnight.
- Quick Thawing Tip: Submerge the sealed steak in cold water for faster results.
- Cooking Frozen Steak: While possible, it may result in uneven doneness.
Why Thaw? Thawed steak cooks more evenly and achieves a better sear.
3. What’s the best oil for cooking steak?
Choose oils with a high smoke point to withstand the heat:
- Avocado Oil: Boasts a neutral taste and a high smoke point, making it versatile for cooking.
- Canola Oil: Affordable and widely available.
- Grapeseed Oil: Light taste, excellent for high-heat cooking.
Avoid: Low-smoke-point oils like extra virgin olive oil—they burn quickly and can impart a bitter taste.
4. Do I need to tenderize my steak?
- Naturally Tender Cuts: Ribeye and Filet Mignon don’t need tenderizing.
- Tougher Cuts:Flank steak or skirt steak benefit from:
- Marination: Acidic ingredients (e.g., lemon juice or vinegar) help break down fibers.
- Meat Mallet: Lightly pound the steak for better texture.
Pro Tip: Always tenderize before seasoning for the best results.
5. How long should I rest the steak before serving?
Resting allows juices to redistribute evenly, preventing dryness.
- Smaller Steaks: Rest for 5–7 minutes.
- Larger Cuts: Rest for 10–15 minutes.
Why It’s Important: Cutting too soon causes juices to spill out, leaving the steak dry.
6. Can I cook steak without a thermometer?
Yes, but a thermometer guarantees precision.
- Rely on the Cooking Times: Follow timing guidelines based on steak thickness.
- Use the Touch Test: Familiarize yourself with the firmness of each doneness level.
Pro Tip: For beginners, investing in an instant-read meat thermometer is a game-changer.
Final Thoughts:
These answers address the most common questions about cooking a quick steak recipe. Whether you’re checking doneness, choosing the right oil, or perfecting your resting time, these insights ensure success every time.
Up next, we’ll wrap up with a quick-reference summary and key takeaways to make every steak you cook unforgettable!
Conclusion: Mastering the Perfect Quick Steak Recipe
Cooking a quick steak recipe at home is not just about preparing a meal—it’s about crafting an experience. With the right preparation, precise cooking techniques, and a little practice, anyone can achieve a restaurant-quality steak in their own kitchen.
Key Takeaways for the Perfect Quick Steak Recipe
- Preparation is Key: Choose the right cut, season well, and ensure your steak reaches room temperature before cooking.
- Master the Technique: Whether searing, grilling, or using the reverse sear method, precision is essential.
- Resting Matters: Always let your steak rest to retain juices and maximize tenderness.
- Experiment Freely: Try different cuts, seasonings, and sauces to discover your personal favorite steak style.
A Gourmet Meal in Minutes
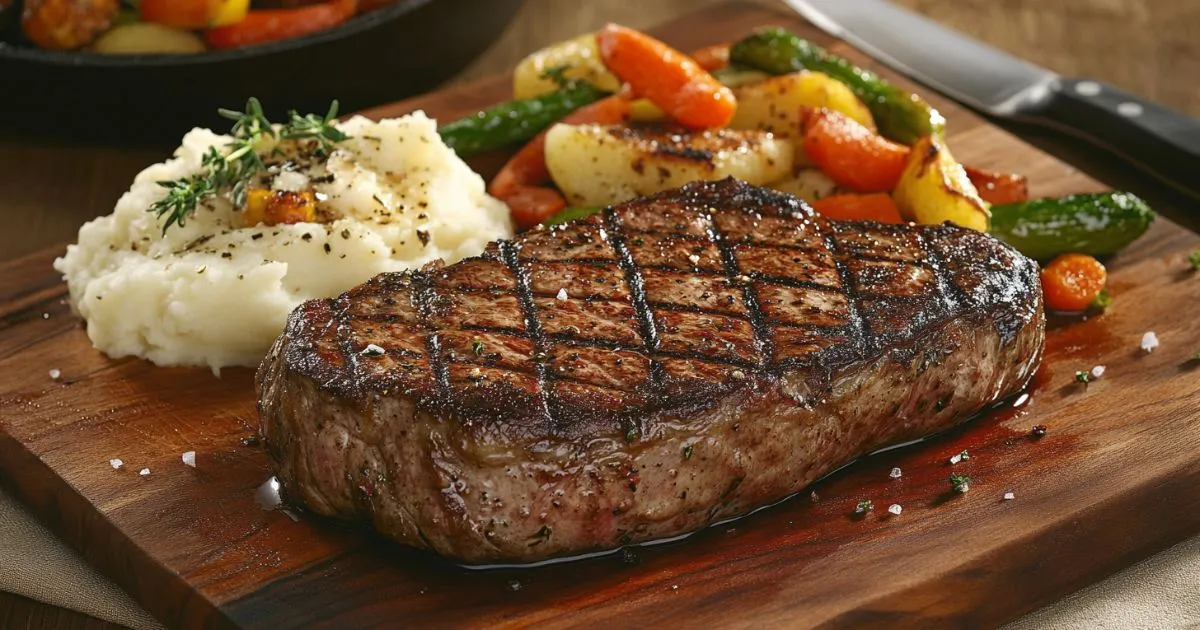
From selecting the perfect cut to mastering doneness and adding flavorful finishing touches, this guide has provided you with all the tools needed to create a steakhouse-quality meal at home.
Cooking steak isn’t just about following steps—it’s about experimenting, tasting, and refining your technique. So fire up that skillet, season your steak boldly, and savor the satisfaction of creating a gourmet meal in minutes.
Bon appétit!

