Introduction
Pumpkin pie is a beloved classic, especially during the fall and holiday seasons. However, for those who are lactose-intolerant, vegan, or simply looking to cut down on dairy, traditional recipes may not be suitable. Enter the dairy-free pumpkin pie—a delightful, creamy, and flavorful dessert that everyone can enjoy.
Crafting a dairy-free pumpkin pie not only makes this holiday staple more inclusive but also offers a healthier twist without sacrificing taste or texture. Moreover, this version uses creative alternatives to achieve the same luscious creaminess and robust spice blend that makes pumpkin pie so irresistible.
In this article, you’ll learn everything from selecting the perfect dairy-free substitutes to preparing the filling, crust, and garnishes for a show-stopping dessert. Let’s dive in and transform this festive favorite into a dairy-free masterpiece!
Ingredients Needed
Creating a dairy-free pumpkin pie starts with choosing the right ingredients. Each component is crucial in maintaining the pie’s creamy texture and signature fall flavor while eliminating dairy. Here’s a detailed look at the core ingredients and their dairy-free substitutions.
Core Ingredients
- Pumpkin Puree
- Opt for canned pumpkin puree or homemade pumpkin puree. Make sure it’s 100% pumpkin without added sweeteners or preservatives.
- Sweeteners
- Brown sugar or coconut sugar are great for adding depth. Additionally, maple syrup can enhance the pie with a natural caramel-like sweetness.
- Spices
- Traditional pumpkin pie spices include cinnamon, nutmeg, ginger, cloves, and allspice. You can use a pre-made pumpkin spice mix or blend your own for a customized flavor profile.
- Eggs or Substitutes
- Eggs help to bind and set the filling. For a vegan option, flax eggs (1 tablespoon flaxseed meal + 2.5 tablespoons water per egg) or aquafaba can be used as replacements.
Dairy-Free Substitutions
- Non-Dairy Milk
- Options: Almond milk, coconut milk, cashew milk, oat milk, or soy milk.
- Tip: Full-fat canned coconut milk works exceptionally well for a richer, creamier texture.
- Dairy-Free Cream or Yogurt
- Adding creaminess is key to achieving that classic pumpkin pie texture. Consider using:
- Coconut cream (from a chilled can of coconut milk).
- Dairy-free yogurt for a slightly tangy profile.
- Adding creaminess is key to achieving that classic pumpkin pie texture. Consider using:
- Butter Alternatives for the Crust
- Use plant-based butter or solid coconut oil for the crust. Both options ensure a flaky and flavorful base.
Optional Ingredients for Added Flavor
- Vanilla Extract: Enhances the filling’s depth of flavor.
- Molasses: Adds a subtle earthy sweetness and richness.
- Salt: A pinch of salt elevates the sweetness and balances the spices.
Part 3: Making the Pie Crust
Making the Pie Crust
The pie crust is the foundation of a great dairy-free pumpkin pie. Whether you choose to make it from scratch or use a store-bought crust, ensuring it’s dairy-free is essential. This section will guide you through both options and provide tips for achieving a perfectly flaky, flavorful crust.
Choosing the Right Crust Base
- Homemade Dairy-Free Crust
- A homemade crust allows for complete control over ingredients. It’s also surprisingly easy to make with a few basic components: flour, fat, and liquid.
- Store-Bought Crust Options
- Many stores carry pre-made dairy-free pie crusts. Be sure to check the ingredients list for hidden dairy products like butter or milk powder. Vegan-certified options are often a safe choice.
Preparing a Flaky, Dairy-Free Crust
Ingredients for a Homemade Dairy-Free Pie Crust:
- 1 ¼ cups all-purpose flour (or a gluten-free blend for a gluten-free crust).
- ½ teaspoon salt.
- ½ cup solid coconut oil or plant-based butter, chilled.
- 3-5 tablespoons ice-cold water.
Step-by-Step Instructions:
- Mix the Dry Ingredients
Combine the flour and salt in a large mixing bowl. - Cut in the Fat
Add chilled coconut oil or plant-based butter. Use a pastry cutter or fork to blend until the mixture resembles coarse crumbs. - Add Cold Water
Gradually add ice water, one tablespoon at a time, mixing gently after each addition. Stop adding once the dough holds together but isn’t sticky. - Chill the Dough
Form the dough into a disk, wrap it in plastic wrap, and refrigerate for at least 30 minutes. Chilling ensures the fat stays solid, leading to a flakier crust. - Roll Out the Dough
On a lightly floured surface, roll out the chilled dough to about 1/8-inch thickness. Transfer it carefully to your pie dish, trimming any excess around the edges. - Pre-Bake (Optional)
For a crisper crust, pre-bake it by lining it with parchment paper, filling it with pie weights or dried beans, and baking at 375°F (190°C) for 10-12 minutes.
Tips for Success
- Keep Everything Cold
Cold ingredients ensure the fat stays solid until baking, creating steam pockets for a flaky texture. - Don’t Overwork the Dough
Handle the dough as little as possible to avoid making it tough. - Use a Food Processor (Optional)
If you prefer a quicker method, pulse the ingredients in a food processor instead of mixing by hand.
Part 4: Preparing the Filling
Preparing the Filling
The filling is the heart of any pumpkin pie, and making it dairy-free doesn’t mean compromising on creaminess or flavor. By carefully selecting ingredients and balancing spices, you can achieve a smooth, rich filling that’s every bit as satisfying as the traditional version.
Part 4: Preparing the Filling
Combining the Ingredients
Ingredients for the Dairy-Free Pumpkin Pie Filling:
- 1 ¾ cups pumpkin puree (canned or homemade).
- ¾ cup full-fat coconut milk or other non-dairy milk.
- 2 large eggs (or flax eggs for a vegan option).
- ½ cup brown sugar or coconut sugar.
- 2 tablespoons maple syrup.
- 1 teaspoon vanilla extract.
- 1 teaspoon ground cinnamon.
- ½ teaspoon ground ginger.
- ¼ teaspoon ground nutmeg.
- ¼ teaspoon ground cloves.
- ¼ teaspoon salt.
Step-by-Step Instructions:
- Prepare the Pumpkin Puree
- If using canned pumpkin, ensure it’s 100% pumpkin puree and not pumpkin pie filling, which contains added sugars and spices. Homemade puree should be well-drained to avoid excess moisture.
- Mix the Wet Ingredients
- In a large mixing bowl, whisk together the pumpkin puree, non-dairy milk, eggs (or egg substitute), brown sugar, maple syrup, and vanilla extract.
- Blend the Spices
- In a separate small bowl, combine the cinnamon, ginger, nutmeg, cloves, and salt. Gradually add this spice blend to the wet mixture, whisking thoroughly to ensure even distribution.
- Check the Consistency
- The filling should be smooth and slightly thick. If it seems too runny, add a tablespoon of cornstarch or tapioca starch to help it set during baking.
- Taste and Adjust
- Before pouring the filling into the crust, taste a small amount to ensure the spice balance is to your liking. Adjust as needed with additional cinnamon or a touch more sweetener.
Tips for Achieving the Perfect Consistency
- Blending the Mixture
- Use a hand mixer or immersion blender to create an ultra-smooth filling. This step helps remove any lumps and incorporates air for a lighter texture.
- Avoid Overmixing
- While blending, avoid overmixing as this can lead to cracking in the filling during baking.
- Rest the Filling
- Allow the mixture to rest for 10-15 minutes before pouring it into the crust. This helps the spices meld together and enhances the overall flavor.
Part 5: Baking and Cooling
Baking and Cooling
With the crust prepared and the filling ready, it’s time to bring your dairy-free pumpkin pie to life. This step involves careful attention to baking times, temperatures, and cooling techniques to ensure the pie sets perfectly while retaining its creamy texture.
Temperature and Time Guidelines
Baking Instructions:
- Preheat the Oven
- Set your oven to 375°F (190°C). Preheating ensures even cooking throughout the pie.
- Assemble the Pie
- Pour the prepared filling into the chilled or pre-baked crust.
- Smooth the surface with a spatula for an even finish.
- Bake the Pie
- Place the pie on the center rack of your oven.
- Bake for 50-60 minutes, or until the filling is mostly set but still slightly wobbly in the center.
- Monitor the Crust
- If the edges of the crust start to brown too quickly, cover them with foil or use a pie crust shield to prevent burning.
Post-Bake Cooling Tips
- Initial Cooling
- Remove the pie from the oven and let it cool on a wire rack for at least 2 hours. This gradual cooling process allows the filling to set fully without cracking.
- Avoid Disturbing the Pie
- Resist the urge to slice or move the pie while it’s cooling, as this can disrupt the delicate structure of the filling.
- Chilling (Optional)
- For a firmer texture, refrigerate the pie for an additional 2-4 hours after it has cooled to room temperature. This step is especially useful if you plan to serve it chilled.
Troubleshooting Common Issues
- Cracked Filling
- This can happen if the pie is overbaked. To avoid cracks, bake just until the center jiggles slightly and let residual heat finish the cooking process.
- If cracks appear, they can be easily concealed with garnishes like whipped topping or nuts.
- Runny Filling
- If the filling hasn’t set properly, ensure the pie is fully cooled and chilled before serving.
- Next time, consider adding a teaspoon of cornstarch to the filling mixture to help it firm up during baking.
Part 6: Serving Suggestions, Storage, and FAQs
Serving Suggestions
Now that your dairy-free pumpkin pie is perfectly baked and cooled, it’s time to serve it in style. Adding a few thoughtful garnishes and pairing it with complementary beverages can elevate your dessert to the next level.
Garnishing Ideas
- Dairy-Free Whipped Topping
- Use a store-bought dairy-free whipped cream, or make your own using chilled coconut cream and powdered sugar. Whip until soft peaks form and dollop generously on top of each slice.
- Cinnamon or Nutmeg Dusting
- A light sprinkle of cinnamon or nutmeg over the whipped topping adds visual appeal and an extra kick of flavor.
- Nuts and Seeds
- Toasted pecans or pumpkin seeds can provide a delightful crunch and contrast to the creamy filling.
- Caramel Drizzle
- For an indulgent touch, drizzle dairy-free caramel sauce over the pie just before serving.
Pairing with Beverages
- Hot Drinks: Serve your pie with a steaming cup of spiced chai tea, dairy-free latte, or black coffee for a warm, cozy pairing.
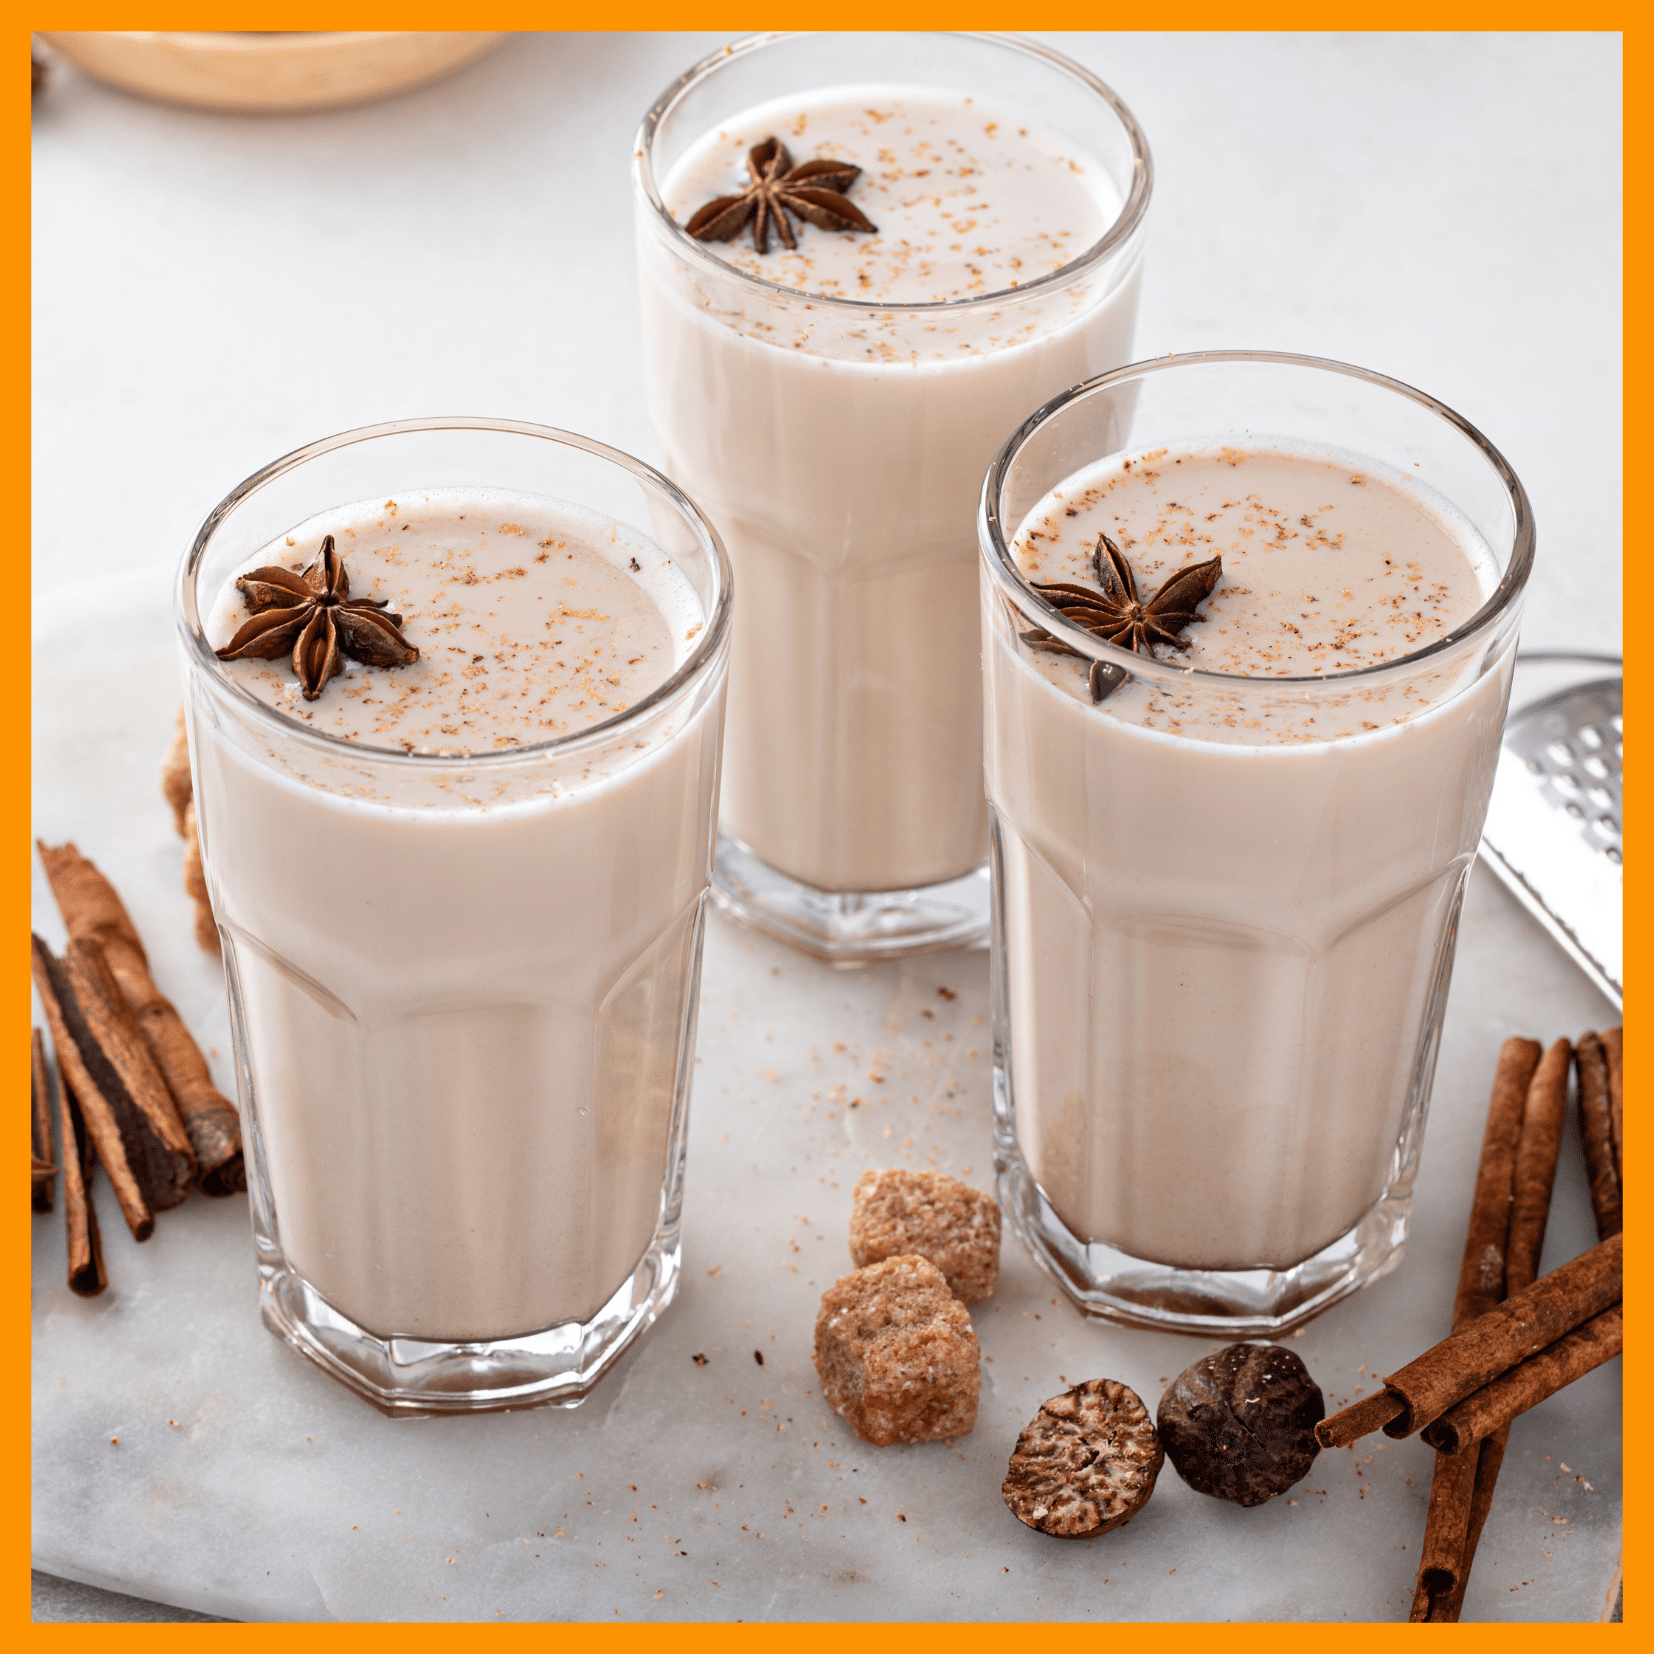
- Cold Drinks: A glass of oat milk or almond milk complements the creamy texture of the pie and balances the spices.
Storage and Reheating
To ensure your pie stays fresh and delicious, follow these storage and reheating guidelines.
Storing Leftovers
- Refrigeration
- Cover the pie tightly with plastic wrap or aluminum foil, or place it in an airtight container.
- Store in the refrigerator for up to 4-5 days.
- Freezing
- For longer storage, freeze the pie. Wrap it tightly in plastic wrap and aluminum foil to prevent freezer burn.
- It can be frozen for up to 2 months. Thaw overnight in the refrigerator before serving.
Reheating Tips
- Oven Reheating
- Preheat the oven to 300°F (150°C).
- Place the pie on a baking sheet and heat for 10-15 minutes until warmed through.
- Avoid Microwaving
- Microwaving can make the crust soggy and unevenly heat the filling. Stick to the oven for best results.
FAQ
Can I make the pie ahead of time?
Absolutely! The pie can be made a day in advance and stored in the refrigerator. This not only saves time but also allows the flavors to deepen and the filling to firm up for an even more delicious result.
What if my crust is too crumbly?
A crumbly crust often means the dough was too dry. To fix this, add a teaspoon of cold water at a time to the dough while mixing until it holds together. Be careful not to overwork the dough, as this can make it tough.
Can I make the pie gluten-free as well?
Yes! Use a gluten-free flour blend for the crust and ensure all other ingredients, such as spices, are certified gluten-free. Additionally, check that your non-dairy milk and other substitutions are gluten-free to avoid cross-contamination.
What if I don’t have canned coconut milk?
You can substitute other non-dairy milk, but full-fat varieties like cashew or oat milk provide the best creamy texture. Keep in mind that lower-fat options may result in a slightly thinner filling.
How can I prevent cracks in the filling?
Bake the pie at a moderate temperature (around 375°F/190°C) and remove it as soon as the center is slightly jiggly. Gradual cooling is key to avoiding cracks. Furthermore, avoid overmixing the filling, as incorporating too much air can cause cracking.
Can I make the pie vegan?
Yes! Replace the eggs with flax eggs (1 tablespoon flaxseed meal + 2.5 tablespoons water per egg) or aquafaba (chickpea water). Ensure that all other ingredients, like sugar and crust, are plant-based for a completely vegan version.
Conclusion
A dairy-free pumpkin pie is more than just a dessert; it’s a deliciously inclusive treat that everyone at your table can enjoy. With its creamy filling, flaky crust, and perfectly spiced flavor, it’s bound to become a holiday favorite. Whether you serve it plain or with a dollop of whipped topping, this pie proves that dairy-free baking can be just as delightful as the original.
Enjoy every bite, and happy baking!